How to Use a Waterpik Like a Boss

The most important area of your mouth to clean is in-between your teeth. This is the first place bacterial plaque will form, and it is also the hardest to keep clean. Dental floss has long been the standard, but water flossers like Waterpik actually clean better than floss. I find them easier and more enjoyable to use than floss too. Getting a Waterpik is also a must-have in our Ideal Oral Health Routine, which you should definitely download.
Effectively Using a Waterpik
I have played around a whole bunch at home with my Waterpik to try and figure out the most effective way to use it to clean between teeth. Here is what I have found.
Waterpik makes several types of water flossers including some just for kids. Personally, I like the countertop Waterpik Ultra Water Flosser, since it holds a good amount of liquid and I feel like I have more control over the water pressure than the cordless Waterpiks. Go to their website and check out some of the other units when you have a chance. The Ultra Water Flosser runs about $60, but if you live by a Costco you can get both the Ultra Water Flosser and the Cordless Plus Water Flosser for only $79.
When you pick up your shiny new countertop Waterpik from the store find a good spot on your bathroom counter where you can plug the unit safely, and follow the included directions to get it set up.
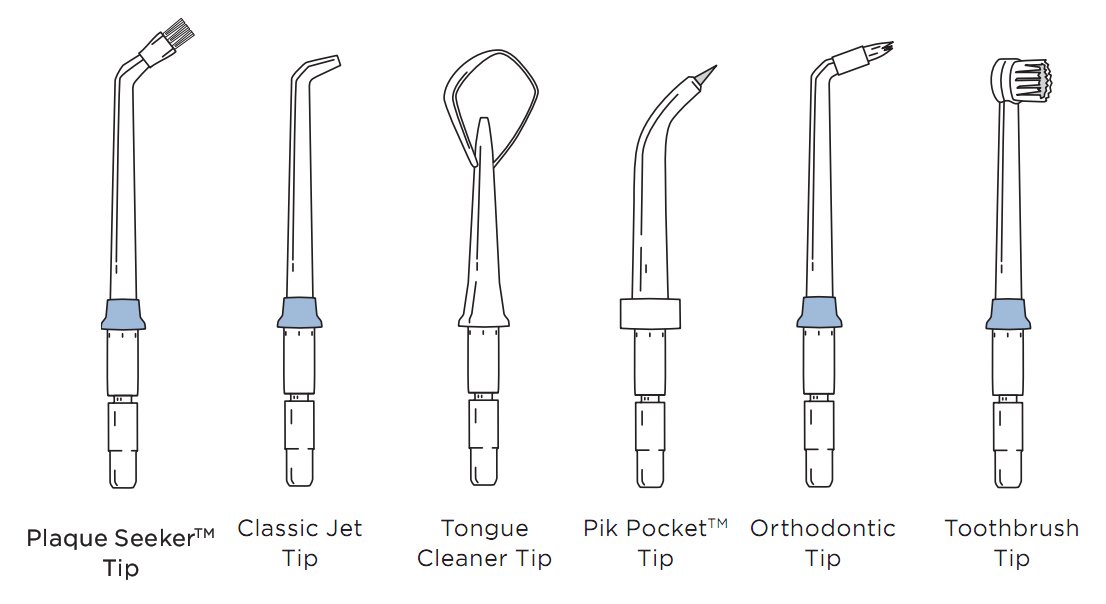
It is going to come with several attachments and you can try them all out if you like, but the Classic Jet Tip works best. If you have braces the Plaque Seeker and Orthodontic Tips can help you clean around the brackets (instructions for braces are at the very bottom).
Here are the step-by-step instructions I use to keep my teeth and gums healthy.
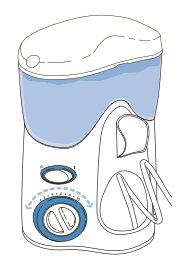
Fill the water reservoir to the maximum allowable level with warm water, so hopefully, you don’t have to refill it in the middle of cleaning. Warm water is going to be much more comfortable especially if you have sensitive teeth. The water in the line might be cold if it has been sitting out, so you might need to flush the line too. Set the pressure dial to High Pressure (at least 8) with the Classic Jet Tip attachment. If your gums are inflamed the high pressure might feel like too much the first few times you use it, so find a comfortable level and gradually work your way up.
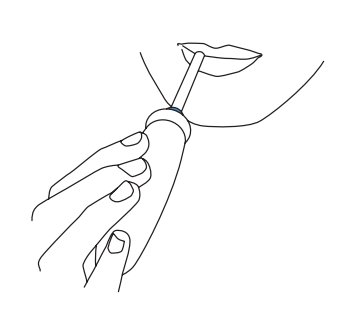
Make sure your thumb is on the ‘pause’ button when you turn it on. To avoid splashing, clean while slightly closing your lips and letting the water run out of your mouth into the sink, or while keeping your mouth totally closed and pausing to spit out the water from time to time.
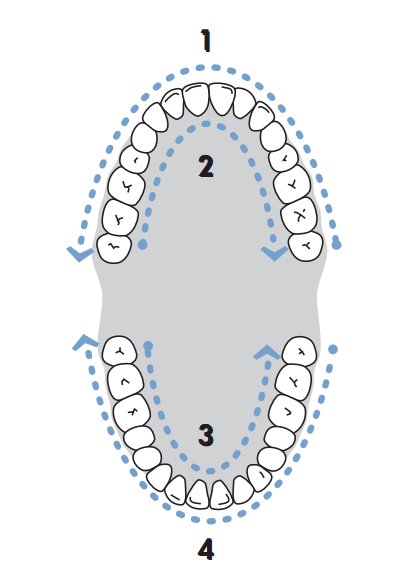
It doesn’t matter if you start on the top or bottom teeth, but make sure you clean both the cheek/lip side of the teeth and the tongue side. I like to start in the back and work my way around each arch.
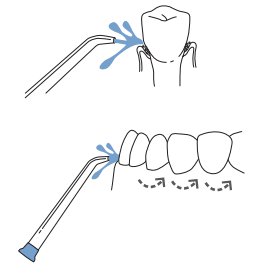
Place the tip at a 90 Degree angle to your teeth. Pause for a few seconds between teeth before sweeping along the gumline to the next area. Having the Waterpik on high power will flush things out nicely.
Instructions for Braces:
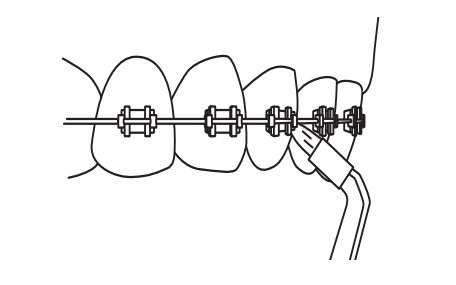 The Orthodontic Tip & Plaque Seeker Tip are great for cleaning right around each bracket where bacteria can hide. However, you will still need to clean in between your teeth and gums as described above.
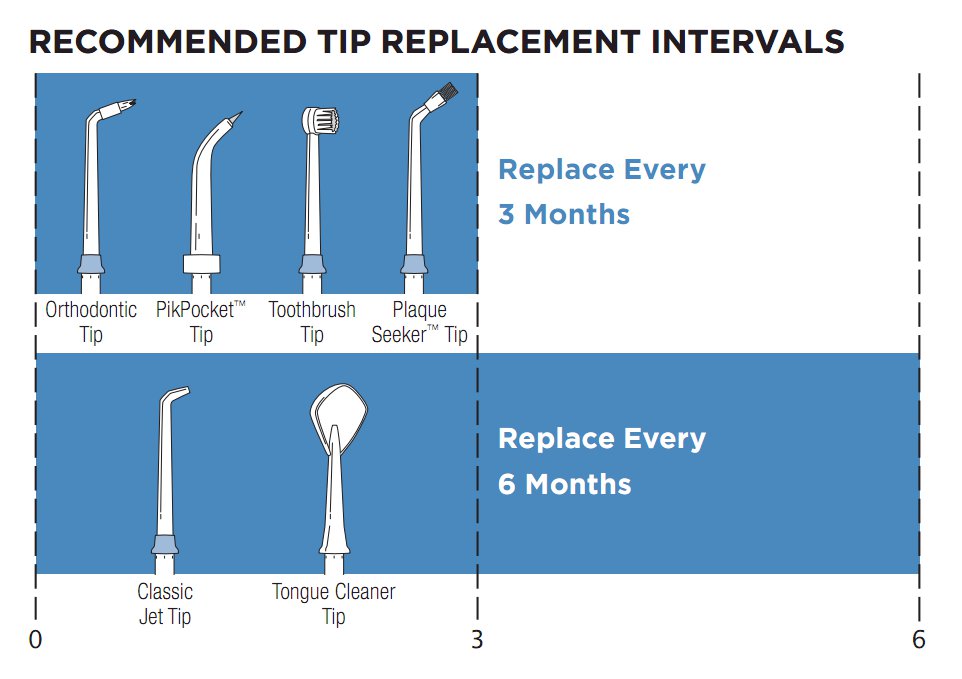
Also, don’t forget to change the attachments every few months.