
How to Use the My Invisalign App for better treatment outcomes
Our patients stay connected with Hatcher & Frey Orthodontics for amazing results and less in-office visits
 Choosing Invisalign as your treatment choice with Hatcher & Frey Orthodontics comes with many conveniences – fewer in-office visits, the freedom to eat what you want (when you want), less risk of injury during sports and physical activities, and the opportunity for Virtual Care!
But how does that work exactly?
There are really only two simple steps:
- Set up your My Invisalign App
- Regularly take photos for our team to review (this happens throughout your treatment)
STEP 1: SETTING UP YOUR MY INVISALIGN APP FOR SUCCESS

When you enroll in Invisalign virtual care with Hatcher & Frey Orthodontics, you will receive an email or text message invitation to set up your account. Follow the link to download the free My Invisalign app on your smartphone.
Now, open your My Invisalign app to start your registration.
Tap, register, review, and accept the terms and conditions.
When asked if you are an existing patient, choose yes – and scan the QR code on your aligner bag or choose to enter your patient ID manually.
Enter your account details and create your personal pin.
Finally, select your aligner settings and reminders based on your doctor’s guidance.
Note: If you previously registered a My Invisalign account, before receiving your aligners, follow these steps to add Invisalign virtual care. First, update your My Invisalign app. Then open the app, log in using your previously registered account details and tap the Welcome Kit image. Enter your first name, last name and your Invisalign ID found on your aligner bag. Lastly, scan your aligner bag and choose your aligner settings and reminders based on your doctor’s guidance. You are now successfully set up with Invisalign Virtual Care, and should see the My Care tab on your app.
STEP 2: TAKE PHOTOS FOR OUR TEAM TO REVIEW
With each aligner change, you will receive a notification from the My Invisalign app to take progress photos and submit them to your doctor.
To do this, you will need to enable notifications on your smartphone allowing the My Invisalign app to send you to push notifications.
The photos you take will help our doctors monitor your progress and keep your new smile on track.
Hatcher & Frey Orthodontics will provide you with an Invisalign cheek retractor. This clearly reveals your teeth when you take photos and will help your doctor assess how your treatment is progressing.
Taking your photos correctly is the most important part of Invisalign Virtual Care, and yet it is a simple process that takes just minutes.
A couple of reminders here:
- Select a well-lit area to ensure your photos are clear and bright, such as in front of your restroom mirror. Hold your smartphone at face level, not too high and not too low.
- Know the difference between ‘Open Bite’ and ‘Closed Bite’ For ‘closed bite’ photos, you may bite down on your back teeth. For the left and right views use the large side tabs of your Invisalign cheek retractor to pull back and reveal all the back teeth – but do not turn your head all the way to the side. Instead, look halfway between straight ahead and your shoulder. Your doctor needs these images done correctly to assess how your back teeth are tracking.
HOW TO TAKE PHOTOS FOR INVISALIGN VIRTUAL CARE
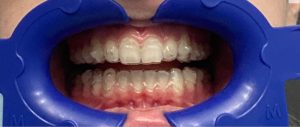
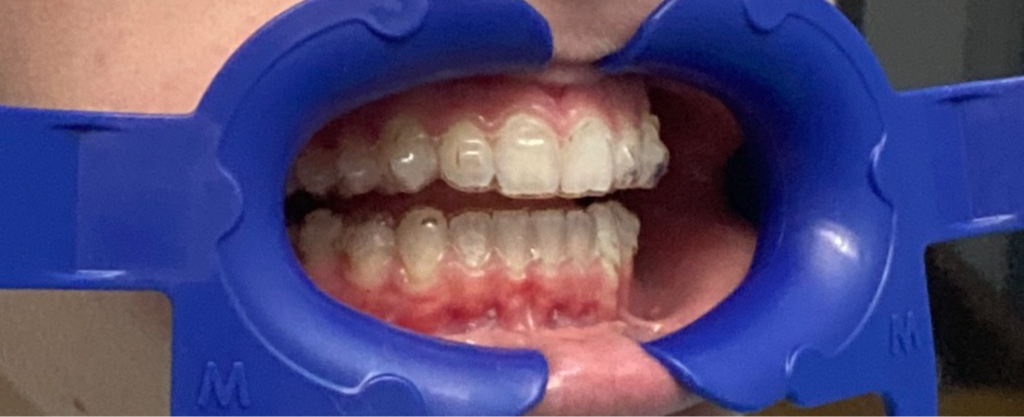
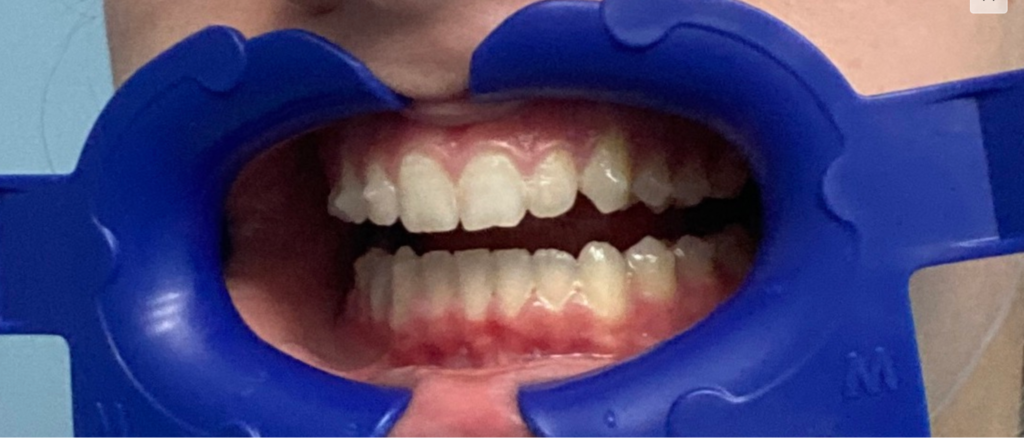
You will take a total of 9 photos. The first three photos you will have your clear aligners IN. On the last six photos, you will have your clear aligners OUT.
Here’s how you will take them:
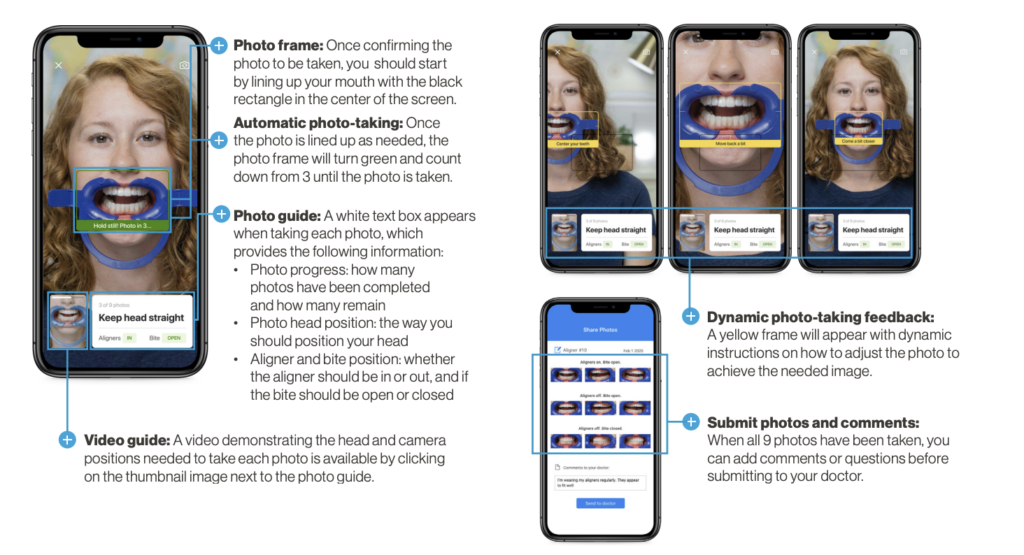
First, tap “Take Photos” then follow the instructions on the app.
INSERT YOUR CLEAR ALIGNERS AND YOUR CHEEK RETRACTOR.
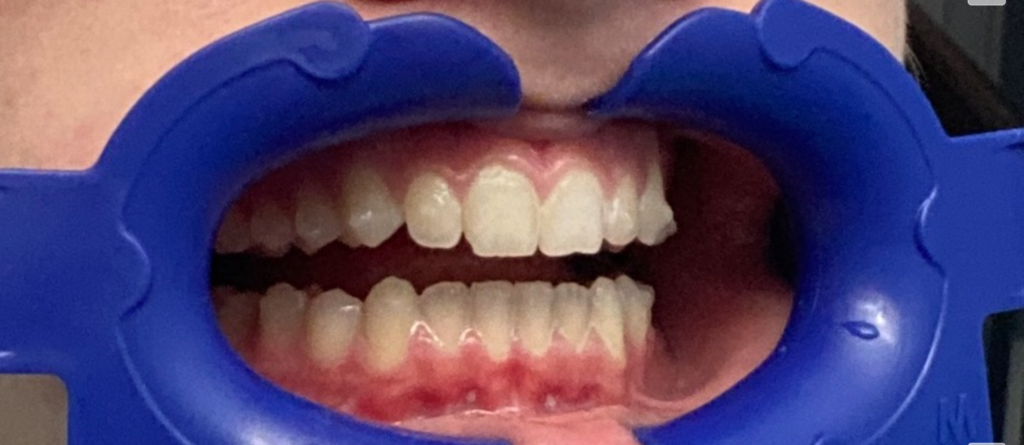
For the first photo, look straight and open your bite wide. Snap your photo!

For the second photo, hold your phone with your right hand. Turn your head to the right (about halfway between looking straight and looking at your right shoulder) and pull on the side tab on the cheek retractors with your left hand to reveal your back teeth. Snap your photo!
For the third photo, hold your phone with your left hand. Turn your head left (about halfway between looking straight and looking at your left shoulder) and pull on the cheek retractors side tab with your right hand to reveal your back teeth. Snap your photo!
→ Now REMOVE YOUR CLEAR ALIGNERS, as you will not need them for the remaining photos you take. Insert your cheek retractors. Place the cheek retractor back in after they’re removed.

For the fourth photo, look straight ahead and open your bite. Snap your photo!
For the fifth photo, Next, hold your phone with your right hand and open your bite.
Turn your head right (about halfway between looking straight and looking at your right shoulder) and pull on the cheaper tractor side tab with your left hand to reveal your back teeth. Snap your photo!
For the sixth photo, hold your phone with your left hand and open your bite. Turn your head left (about halfway between looking straight and looking at your left shoulder) and pull on the cheek retractor side tag with your right hand to reveal your back teeth. Snap your photo!
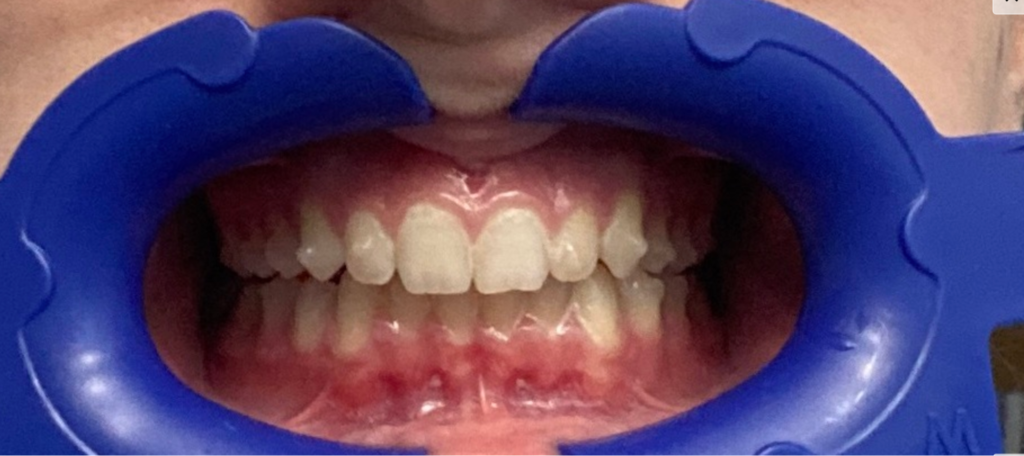
For the seventh photo, look straight, open your mouth and then close your bite. Snap your photo with your bite closed!
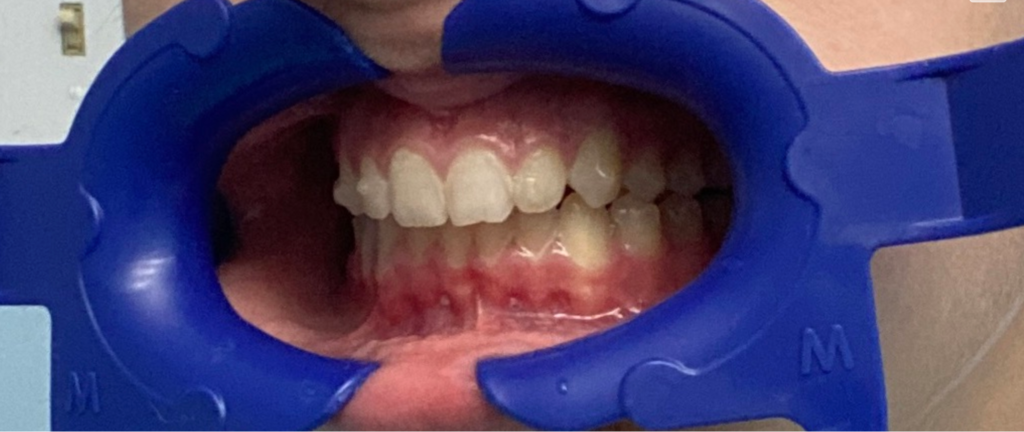
For the eighth photo, hold your phone with your right hand. Turn your head right (about halfway between looking straight and looking at your right shoulder) and pull on the side tab of the cheek retractors with your left hand to reveal your back teeth. Open your mouth and then close your bite. Snap photo with your bite closed!
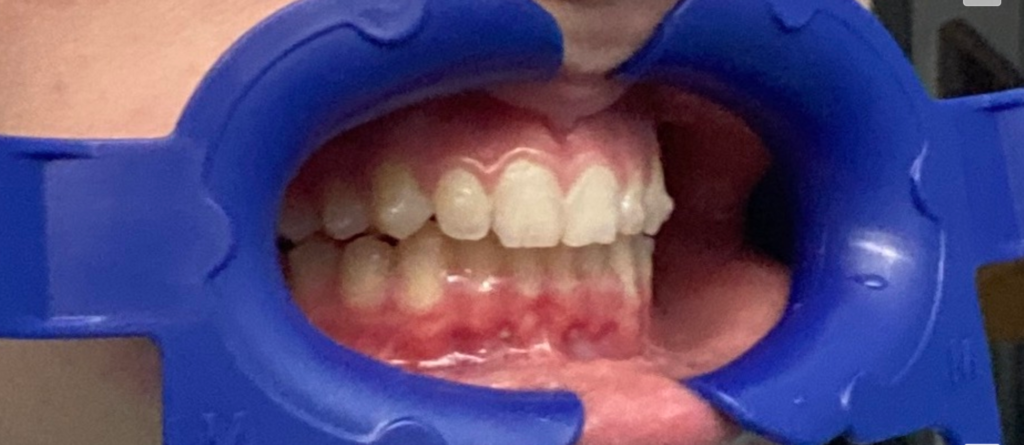
For the ninth photo, hold your phone with your left hand. Turn your head left (about halfway between looking straight and looking at your left shoulder) and pull on the side tab of the cheek retractors with your right hand to reveal your back teeth. Open your mouth and then close your bite. Snap a photo with your bite closed!
Continue to submit your photos to Hatcher & Frey Orthodontics at every Invisalign aligner change.
You may even enter a short note to your doctor. Your photos and notes allow your doctor to identify any issues and quickly correct them. We may provide feedback to you every one to two weeks via the My Invisalign app.
TYPES OF FEEDBACK YOU MAY RECEIVE AFTER SUBMITTING PHOTOS
- ON TRACK – If you receive an Ontrack notification, your new smile is progressing according to your custom treatment plan. Continue wearing your aligners as directed.
- INSTRUCTIONS – An instructions notification means your doctor has provided you with additional guidance. If your doctor has indicated a change to your aligner wear schedule you can simply tap accept to update your settings.
Sometimes our team may also choose to set up a virtual face-to-face appointment using video conferencing.
NOW WHAT?
There’s always more to explore in your My Invisalign app, including tutorials, accessories, and care tips. Try the wear timer to track your aligner wear time and keep your doctor informed. Save your photos to the smile gallery to view how your new smile is progressing. You will feel confident knowing Hatcher & Frey Orthodontics is overseeing your Invisalign treatment every step of the way.